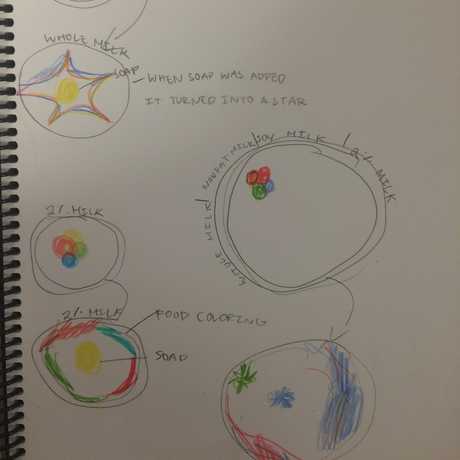
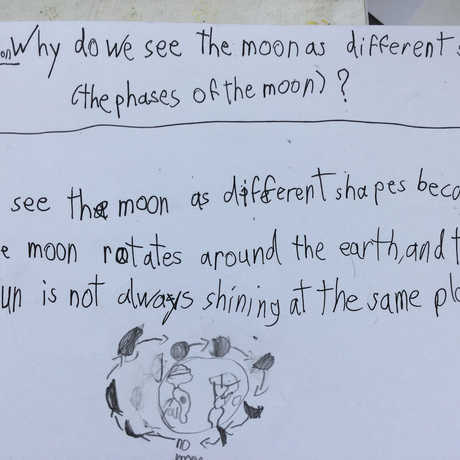
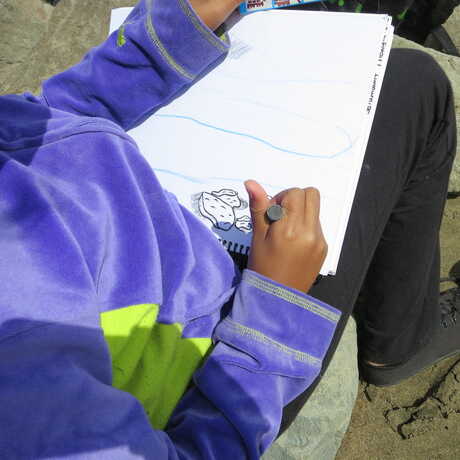
Notebooks can help make your classroom experiments both hands-on and minds-on.
About This Guide
Below, you'll find guidance related to helping students plan investigations, including:
- Scaffolds to help students create their plans
- Tips for more open-ended investigations
- An example story from a real classroom
Because we know teachers appreciate seeing the results of using these strategies, we've also created an example gallery containing student work and photographs of scaffolds on the walls of classrooms.
Introduction
When many teachers think of a science investigation, they think of lab reports or the scientific method – a rigid set of steps students adhere to in order to complete an assignment. In fact, real scientists don’t often follow such a prescribed path. Instead, they follow questions and curiosities, which might lead them to read or research or experiment, which might lead them to more questions, etc. etc. The process can be messy and complex.[i] Student work in the classroom can mirror the work of real scientists. Read this page to learn how students can use notebooks to both catalyze and catalog their own scientific process.
[i] “How Science Works” graphic © 2008 by The University of California Museum of Paleontology, Berkeley, and the Regents of the University of California.
From Gluing to Doing
The notebook can be a powerful tool for students to learn how to plan investigations. Perhaps you’ll start out the year by handing students a worksheet or lab report and asking them to glue it into their notebooks, but as time goes on, you can empower your students to create their own structures for planning and carrying out investigations.
Scaffolded Planning for Investigations
If students have little lab experience, notebook scaffolds can help them get prepared for an investigation. Here are a few options:
- Have students copy out the focus question, materials, and procedure from the board, like in this example.
- Give students pre-printed labels/handouts with focus question and procedure and have them glue it in their notebook, like in this example.
- Have students divide their notebook page into sections and label each one with terms like, "Question" "Prediction" "Materials" "Independent variable" "Dependent variable," etc., as in this example.
Semi-Scaffolded Planning for Investigations
Once students have experienced one or two heavily scaffolded investigations, you can help them transition towards planning their own investigations. Here are some examples of intermediary scaffolds that enable students to make more of the decisions.
- Give students a list of elements that should be included in their plan, but allow them to determine how to organize the plan in their notebook, like in this example.
- Encourage students to number the steps of their procedure, but allow them to determine what the steps will be, like in this example.
- Have students divide their page into different sections for each trial, but allow them to collect data as they see fit, like in this example.
- Direct students to organize their page with sentence-frames such as, "I predict..." and "I wonder..." and to develop a plan based on their question, like in this example.
Unstructured Planning for Investigations
After a few transitional investigations that are jointly planned by teacher and student, consider giving your students the opportunity to fully design their investigations. Here are a few tips for an open-ended planning session.
- Give students a chance to discuss their plan before writing/sketching it in the notebook.
- Tell students to use words and sketches to outline their plan in the notebook.
- Remind students to include the focus question. (Maybe they are even selecting the question).
- Encourage students to be clear and thorough, so that another scientist would be able to repeat their experiment by looking at their notebook. [Check out our page on Strategies for Peer-to-Peer Sharing].
- Ask students to make a plan for how they will collect data during the investigation.
Notes from the Classroom
Jinney was preparing for a celery investigation from her 5th grade curriculum. Her students had already experienced a few hands-on investigations, so she didn’t want to just hand them a ready-made procedure. She wanted to give them an opportunity to design the experiment themselves. So, here’s what she did.
To set the stage, she had students discuss a few questions: Are plants living organisms? Are plants made of cells? Are cells alive? How do plants get the resources they need for life? Jinney did not answer these questions – she just encouraged students to talk with each other about their ideas. Then, she showed them the materials they would have at their disposal – celery, pitchers of water, a scale, etc. Finally, she gave them a focus question for the investigation: "Will celery with leaves absorb more water than celery without leaves?" After that, the students were on their own. In groups, they designed investigations to answer the focus question. You can see several of their plans here.

Science Notebook Corner
Learn how notebooks can help your students think and act like scientists.